
You flick the switch. The road ahead stays half-dark. One side is out again—or worse, both are on but barely cutting through the rain. If you have replaced the same h11 headlight bulb more than once in the past year, you are not imagining things. The problem is rarely your car. It is the bulb itself, and the way the aftermarket keeps selling you the same fragile technology in a shinier box.
In our engineering testing at GTR, we have torn down dozens of failed halogen and budget LED bulbs. The failure patterns are predictable. The frustration they cause is not. This is the real reason your low beams keep dying, and what actually stops the cycle.
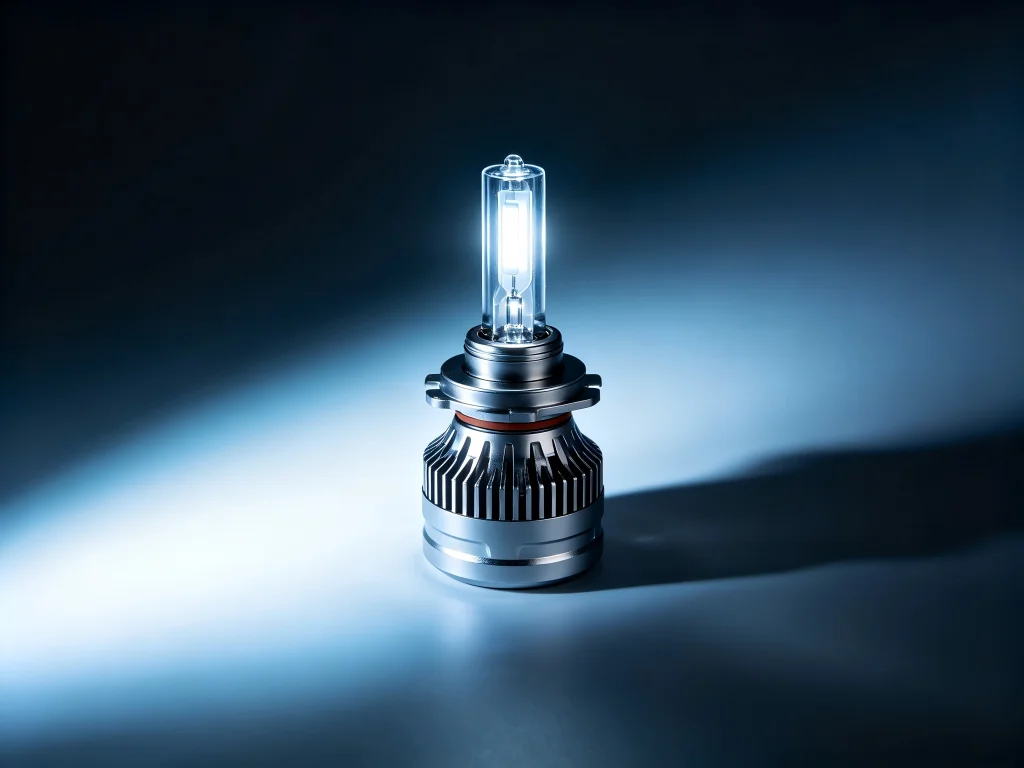
1. Why Your H11 Headlight Bulb Keeps Burning Out
Most stock H11 halogen bulbs are rated for roughly 200 to 400 hours of use, and many aftermarket replacements fall short of even that modest figure due to poor filament quality and heat management inside the housing.
Halogen bulbs work by running electricity through a tungsten filament until it glows. That filament is suspended in a tiny glass capsule filled with halogen gas. The gas is supposed to cycle tungsten atoms back onto the filament, extending life. In practice, the filament thins over time. Vibration, heat cycling, and the slightest touch of oil from your fingers during installation accelerate the breakdown. One day, the filament snaps. You are driving with one headlight again.
The cycle feels absurd. You buy a name-brand bulb at a local parts store. It lasts six months. Sometimes less. You read the reviews afterward and realize hundreds of other drivers are saying the same thing. You start wondering if something is wrong with your vehicle’s wiring. It probably is not. The bulb is simply a consumable designed around an aging technology, and the heat inside a modern headlight housing—especially one with a sealed dust cap—cooks it faster than the package claims.
2. The Hidden Cost of “Just Replacing It Again”
Repeated bulb failures drain far more than the price of the bulb itself. Each replacement costs you time, knuckle skin, and the risk of damaging the housing connector—and every drive on a dim or failed low beam is a safety compromise.
Think about the actual scenario. You are in a parking lot at night, or in your driveway in bad weather. You pop the hood. The H11 socket is often buried behind a plastic shroud or a battery. You contort your hand into a space designed for a mechanic with smaller fingers. You twist the connector. It sticks. You pull harder than you should. The plastic tab cracks.
Or worse: you pay a shop $80 to $120 in labor for a part that cost $15. Do that twice a year and the economics become absurd.
Then there is the driving part. A failed low beam is not just an inconvenience. It changes how you see the road at night. Your peripheral vision drops. Wet pavement swallows what little light remains. You find yourself leaning forward, squinting, driving slower than traffic. You may not admit it, but you are less confident behind the wheel. That is not a bulb problem anymore. That is a safety problem.
And if you have tried a cheap LED “upgrade” to solve the issue, you may have discovered a different frustration. Budget LED bulbs often claim outrageous lumen figures that vanish after ten minutes of heat soak. Their chips sit in the wrong position relative to the halogen filament they replaced, scattering light into oncoming traffic and creating dark holes in your own beam pattern. You traded a burnout problem for a glare problem.
3. The Real Reason Most H11 LED Upgrades Disappoint
The aftermarket is flooded with H11 LED bulbs that look impressive in a photo and fail in the real world. Three design failures explain almost every disappointed review.
3.1. Failure One: The Chip Is Not Where the Filament Was
Your headlight reflector or projector has a single job: take light from a specific point in space and shape it into a useful beam. The stock halogen filament sits at that exact point with micrometer-level precision. When an LED chip sits even a millimeter off that focal point, the beam breaks. Light scatters upward into oncoming drivers’ eyes and sideways into the trees. You get a bright-looking bulb that actually puts less usable light on the road.
This is not a tuning issue. It is a fundamental design flaw. A bulb that does not replicate the filament position of the original H11 cannot produce a correct beam pattern, no matter how many lumens the box promises.
3.2. Failure Two: Heat Kills the Chip Before Its Time
LEDs are more efficient than halogen, but they are not immune to heat. The difference is where the heat goes. A halogen bulb burns hot at the filament and radiates that heat outward. An LED chip concentrates heat in a tiny junction. If that heat cannot travel away from the chip through a proper thermal path—a copper heat pipe, a substantial aluminum heatsink, a fan that actually moves air—the junction temperature climbs. The driver circuit reduces output to protect itself. The phosphor coating degrades. The bulb dims gradually, then fails.
In our teardown lab, the pattern is unmistakable. Budget LED bulbs use the thinnest possible aluminum backing and the smallest possible fan, or no fan at all. They work beautifully for the first fifteen minutes. Then the output drops, and the color shifts, and the driver starts flickering. The bulb is not broken yet, but it is no longer doing its job.
3.3. Failure Three: The Vehicle’s Computer Rejects the Bulb
Modern vehicles monitor the electrical load on each circuit. A halogen H11 draws roughly 55 watts. An LED replacement might draw 20 watts. The computer sees that drop and concludes the bulb has failed. It sends a pulse to check, the LED flickers, and the dashboard throws a warning. Some vehicles shut the circuit down entirely.
This is not a defect in the LED. It is a communication gap. The fix is a properly engineered driver with built-in load resistance or a CANBUS decoder that tells the vehicle everything is fine. Cheap kits skip this component because it costs money. You pay for that shortcut every time you start the car.
4. What a Properly Engineered H11 LED Actually Does Differently
At GTR, we did not start with a lumen number and work backward. We started with a question: where does the light need to go, and what is the most reliable way to put it there?
That question led us to three non-negotiable design rules for the GTR Ultra 3 H11.
4.1. Rule One: Emitter Position Is Everything
The LED chips in the Ultra 3 are positioned to replicate the filament location of a standard H11 halogen bulb as closely as the physical geometry allows. This is not a marketing point. It is the difference between a beam pattern that illuminates the road and one that scatters into the eyes of every driver you pass. In projector housings—where the cutoff is sharp and unforgiving—this precision matters most. A chip that is slightly too high or too far forward will blur the cutoff and create glare. A chip in the right position lets the projector do exactly what it was designed to do.
4.2. Rule Two: Thermal Path, Not Just a Fan
A fan is not cooling if the heat cannot reach it. The Ultra 3 uses a copper heat pipe to pull heat away from the LED junction and spread it into a finned aluminum body, with a fan moving air across those fins. The goal is not to survive heat. The goal is to keep the LED operating in a temperature range where output stays stable and color stays consistent. A bulb that is bright for five minutes and dim for the next five hundred hours is not a solution.
4.3. Rule Three: The Driver Is Part of the Bulb
The external driver on the Ultra 3 is not an afterthought. It regulates current, filters voltage spikes, and includes the load compensation that keeps modern vehicles from flagging an error. This is the component that budget brands omit or substitute with the cheapest possible circuit board. It is also the component that determines whether your new bulbs flicker, throw codes, or simply work like they are supposed to.
5. Halogen vs. Budget LED vs. Engineered LED: A Real Comparison
| Factor | Stock Halogen H11 | Budget LED H11 | GTR Ultra 3 H11 |
|---|---|---|---|
| Usable beam pattern | Correct from factory, but dim | Often scattered or misaligned | Replicates filament position for proper focus |
| Output over time | Dims gradually as filament wears | Drops sharply after heat soak | Stable output through thermal regulation |
| Lifespan (real-world) | 200–400 hours typical | Highly variable; months to a year | Engineered for years of consistent use |
| Kompatibilitas CANBUS | Native (vehicle expects the load) | Often causes flicker or errors | Built-in load compensation |
| Installation fit | Reference standard | Heatsink may foul dust cap | Compact rear profile, verified fitment |
| Konsistensi warna | Warm yellow, shifts with age | Can vary batch to batch | Consistent white output |
6. What Drivers Actually Report After Switching
We pay attention to what happens after the box is opened and the bulbs are installed. The feedback that matters is not the initial “wow, they’re bright” reaction. It is the report six months later.
One pattern we hear repeatedly from customers who switched from budget LEDs: the beam pattern is the first thing they notice. A driver who had been running a generic LED kit in a projector housing described the change as “like the road finally came back into focus.” The light was not necessarily brighter in raw output. It was in the right place.
Another common report involves the flicker. Vehicles that had thrown error codes or flashed the low beams with cheap LEDs stopped doing it entirely after switching to a bulb with proper load compensation. For drivers of newer vehicles—especially those with sensitive CANBUS systems—this alone justifies the upgrade.
The third pattern is quieter but important: people stop thinking about their headlights. The constant low-grade anxiety about whether the bulb will fail before the next inspection, or whether the color will shift and make the car look cheap, or whether the glare is annoying other drivers—it goes away. That is what a properly engineered part does. It becomes invisible because it works.
7. Frequently Asked Questions About H11 Headlights
7.1. What cars use an H11 headlight bulb?
The H11 is one of the most common low-beam and fog-light bulb types in the world. It appears in a wide range of vehicles from Toyota, Honda, Nissan, Hyundai, Kia, BMW, and many others. It is most frequently found in low-beam housings and fog lights, though some vehicles use it for high beams as well. The only reliable way to confirm is to check your owner’s manual or look at the marking on the bulb you are removing .
7.2. Can I just swap my halogen H11 for an LED bulb?
Physically, yes—the H11 base is the same. But “plug and play” is misleading. The LED bulb must fit inside the housing behind the dust cap, must not trigger a CANBUS error, and most importantly must place its light source in the correct position for your specific housing to focus. A bulb that fits but scatters light is worse than a dim halogen that aims correctly.
7.3. Why do my new H11 bulbs look bright but I still can’t see the road?
Perceived brightness and usable light are different things. A bulb that throws light everywhere creates glare and a washed-out foreground, but leaves the distance dark. The chip position relative to the housing’s focal point is almost always the cause. If the beam pattern on a wall is not sharp and focused, the bulb is not doing its job, regardless of what the packaging claims.
7.4. What is an H11 headlight connector, and do I need a new one?
The H11 connector—sometimes called a pigtail or socket—is the plastic plug that mates with the vehicle’s wiring harness. You only need to replace it if the original is melted, corroded, or cracked. A quality LED bulb kit should plug directly into your existing connector. If a seller tells you that you must cut and splice a new connector for a standard H11 application, that is a sign the product is not properly designed for the vehicle.
7.5. Will an LED H11 bulb cause flickering or error messages?
It can, if the bulb lacks proper load compensation. Modern vehicles expect a certain current draw. An LED that draws significantly less can trigger a “bulb out” warning or cause flickering as the vehicle pulses the circuit to check it. A bulb with a built-in driver that includes load resistance—or a separate CANBUS decoder—prevents this. It is one of the clearest markers of a quality kit versus a budget one.
7.6. How long should a quality H11 LED bulb last?
A properly engineered LED with adequate thermal management should outlast several halogen bulbs. The weak points are the driver circuit and the thermal path. If either is compromised, lifespan drops to months. If both are robust, the bulb can last for years of normal driving. The key is not a single number on the box—it is the design that keeps the LED junction cool and the electronics stable.
8. The Bottom Line for Your H11 Low Beams
You have replaced the same bulb too many times. You have tried the cheap LED that looked bright in the driveway and scattered light on the road. You have dealt with the flicker, the error code, or the dimming after twenty minutes of driving. The cycle is not a fact of life. It is a design failure.
The GTR Ultra 3 H11 exists because we got tired of tearing down bulbs that were built to hit a price point rather than a performance standard. If you are ready to stop replacing, stop squinting, and stop wondering whether your lights will make it through the next rainy drive, the answer is not another budget bulb. It is a bulb designed around the physics of your housing, the electronics of your vehicle, and the reality of how you actually drive at night.
Your low beams should not be a consumable. See what a properly engineered H11 feels like at https://www.rhgtr.com.