If you are reading this, you are likely past the “what is a bi-color LED panel” stage and deep into the buying decision. You have shortlisted three or four models. The specifications all look nearly identical: CRI 96+, 2700K–6500K, “flicker-free,” aluminum chassis. Yet the price difference between the cheapest and the most expensive option is $200 or more. You want to know where that money goes — and whether paying more actually buys you a better light, or just a better brand story.
Based on our years of manufacturing bi-color LED panels at GTR for rental houses, broadcast studios, and working cinematographers, we are going to walk you through the seven comparisons that actually predict whether a panel will serve you for five years or frustrate you in five months. This is not a generic “look at lumens” guide. This is the evaluation framework we use when competitors buy our panels to reverse-engineer them.
1. Critical Comparison : Edge-Lit vs. Direct-Lit Architecture
The fundamental architecture of a bi-color LED light panel — edge-lit or direct-lit — dictates its softness, throw distance, thermal behavior, and serviceability. Most buyers overlook this choice entirely because both designs can produce a 60W panel with similar dimensions. In practice, edge-lit panels excel in close-quarters soft lighting, while direct-lit designs dominate when you need punch, uniform color blending, and field-repairability.
The difference is physical. An edge-lit panel places LED emitters only along the perimeter of the frame. A light guide plate — essentially a thick sheet of acrylic etched with diffusion patterns — spreads that edge light across the panel face. This creates a naturally diffuse, soft source with minimal depth. A direct-lit panel places an array of LEDs across the entire rear surface behind a diffuser layer.
The edge-lit approach gives you a panel that is thin, lightweight, and gentle on faces at arm’s length — ideal for a desktop streaming setup or a cramped interview corner. But it comes with tradeoffs. Because all the light originates from the edges, output drops noticeably toward the center on larger panels. Our photometric mapping of a popular 12-inch edge-lit panel showed a 22% brightness falloff from edge to center. The CCT also shifts toward the edges because the warm and cool LED dice positioned along the rim blend less evenly across a long light-guide path.
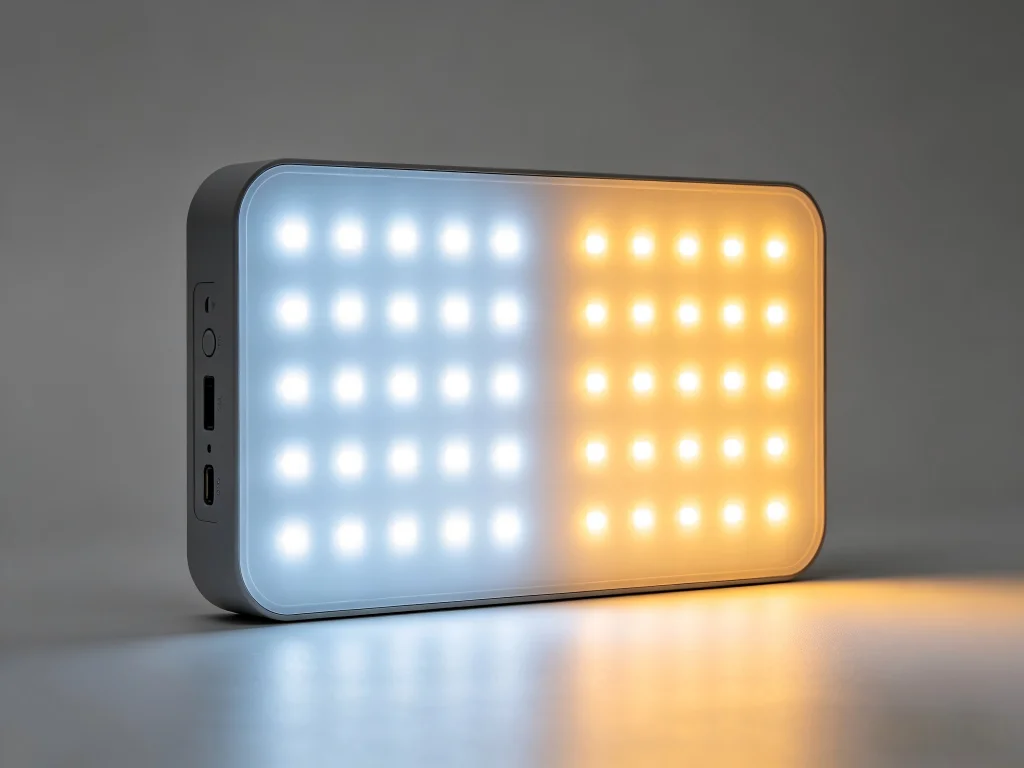
Direct-lit panels solve this with brute-force LED population. A grid of alternating warm-white and cool-white emitters behind the diffuser blends colors at the source, yielding remarkably flat CCT uniformity across the entire emitting surface. In our own direct-lit designs, we measure CCT variation of less than ±80K corner to corner. Direct-lit also means that if an emitter fails, you can replace individual LED modules — edge-lit panels typically require a full light guide replacement, making them disposable rather than serviceable.
| Evaluation Criteria | Edge-Lit Panel | Direct-Lit Panel |
|---|---|---|
| Native Softness | Excellent — inherently soft due to light guide diffusion | Good — requires quality diffuser, but controllable via distance |
| Throw Distance | Poor — rapid falloff beyond 1.5 meters | Strong — usable at 3–5 meters as key light |
| CCT Uniformity | Weak — edge-to-center variation common | Excellent — ±80K achievable with proper LED binning |
| Repairability | Low — light guide replacement is complex and costly | High — modular LED boards can be swapped individually |
| Thermal Management | Concentrated heat at edges; thermal bottlenecks | Even heat distribution across larger rear surface |
| Trường hợp sử dụng tốt nhất | Desktop streaming, close-up beauty, cramped spaces | Studio key light, location interview, broadcast set |
Our recommendation: if you work at distances beyond two meters with any regularity, direct-lit is the safer professional choice. You can always soften a direct-lit panel with diffusion. You cannot make an edge-lit panel throw farther or blend its CCT more evenly.
2. Critical Comparison : PWM Dimming Frequency — The Real "Flicker-Free" Benchmark
A bi-color LED panel’s PWM dimming frequency is the single most hidden specification in the lighting industry, yet it determines whether your footage will be usable at high frame rates, whether your subjects will suffer eye strain during long interviews, and whether your camera’s rolling shutter will produce ugly banding. Any panel with a PWM frequency below 20,000Hz is a gamble when shooting above 60fps.
Most manufacturers publish “flicker-free” without qualifying what that means. In our testing, many panels that claim this designation operate at PWM frequencies between 600Hz and 1,200Hz. At 24fps with a 180-degree shutter, these frequencies mathematically avoid visible flicker — and nothing more. Crank your camera to 120fps for smooth slow-motion B-roll, and the interaction between the panel’s PWM cycle and your sensor’s rolling shutter creates dark bands that march across the frame (source).
The solution is simpler than manufacturers make it seem. A PWM frequency of 25,000Hz — well above the Nyquist threshold for any frame rate used in commercial video production — eliminates banding entirely. It also reduces the subliminal flicker perception that can cause eye fatigue in on-camera talent during extended shoots. Our GTR panels run at 25kHz specifically because we saw too many DPs discover PWM banding for the first time in the editing bay, not on set where they could fix it.
- Ask the manufacturer for the exact PWM frequency in Hertz. If they reply with “our panels are flicker-free,” ask again. A specific number is the only acceptable answer.
- Test at your highest planned frame rate before trusting any panel. Shoot 240fps with a fast shutter and examine the footage on a large monitor. Banding visible in playback equals a panel you cannot rely on for slow-motion work.
- Be skeptical of “high-speed sync” claims for stills. Continuous LED panels and flash sync are different engineering challenges. A panel optimized for video PWM may still produce banding with a mechanical shutter at 1/1000s.
3. Critical Comparison : The CRI-TLCI Gap and Why It Betrays Your Footage
Buyers fixate on CRI because it is the number printed largest on the box. But as a manufacturer, we can tell you CRI alone is deceptive because it measures color rendering for the human eye — not for a CMOS sensor with its own spectral sensitivity curve. TLCI (Television Lighting Consistency Index) was developed by the European Broadcasting Union specifically to predict how a camera sensor will interpret a light source’s spectrum (source).
We have measured panels from competitors that achieved CRI 97 but TLCI 82 — meaning the light looked flawless to the operator’s eye while generating footage with a persistent magenta-green cross-cast that required secondary color correction to neutralize. The gap is worst at intermediate CCT settings like 3800K and 5000K, exactly where mixed ambient lighting forces you to work. Budget panels achieve high CRI at 3200K and 5600K because those are the two points the factory calibrates. The rest of the range receives no spectral correction.
Our approach at GTR is to measure and publish TLCI alongside CRI at every major CCT waypoint. We calibrate across 16 points with a reference spectrophotometer, and the compensation data lives in each panel’s firmware. The TLCI values we publish are the minimum across the entire range — not the peak. A panel that claims “TLCI 95+” but only at 5600K is not being honest with you. Demand the curve, not the cherry-picked number.
4. Critical Comparison : Thermal Behavior at Full Output Over Time
A bi-color LED panel is a heat-generating device. LEDs convert only about 30–40% of electrical energy into light; the rest becomes heat that must be wicked away from the emitters to prevent efficiency loss, color shift, and accelerated aging. How a panel handles sustained full-output operation separates professional fixtures from prosumer gear more clearly than any other factor.
Passive cooling — using finned aluminum heatsinks without fans — is the gold standard. Passive designs are silent, immune to fan bearing failure, and operate without pulling dust through the chassis. But passive cooling demands substantial metal mass and careful thermal path design. Budget panels often skimp here, using thinner aluminum extrusions that allow junction temperatures to climb 30–40°C above ambient within an hour of full-power operation.
Why does this matter to your footage? Because LED phosphor efficiency drops as temperature rises. A panel that measures 5600K and 100% output when cold may drift to 5300K and 88% output after 90 minutes of continuous use if the thermal management is inadequate. Our own testing of a popular budget bi-color panel showed a 12% output drop and 300K CCT drift over a two-hour period. GTR panels use oversized passive heatsinks and firmware-level thermal compensation — a feedback loop that adjusts drive current to stabilize color as temperature naturally rises — to keep both output and CCT within 2% of cold-start values indefinitely (source).
5. Critical Comparison : Build Quality That Predicts Longevity
You can evaluate build quality in a bi-color panel before you even plug it in. We advise buyers to physically inspect four things:
- Chassis material and thickness. Plastic chassis panels flex, transmit vibration, and crack at mounting points over time. Extruded or cast aluminum is the professional standard. Thicker walls — 2mm or more — resist torque stress from modifiers like softboxes and heavy barndoors (source).
- Connector type and security. Locking Neutrik-style or 3-pin XLR power connectors prevent accidental disconnection during a take. DC barrel jacks without locking rings are the number one cause of on-set power interruptions we see reported. An unplugged light during a live shot is an amateur mistake enabled by amateur connectors.
- Yoke and tilt mechanism. The yoke should lock securely without drooping under the weight of modifiers. Friction hinges that loosen after 50 adjustments are the hallmark of cost-cut engineering. Look for toothed locking discs or lever-lock mechanisms that maintain tension over years of use.
- Ingress protection rating. IP20 means the panel is safe for a clean, dry studio and nothing else. IP54 — dust-protected and splash-resistant — means you can shoot in a warehouse, on a sandy lot, or in light precipitation without babying the gear. If your shoots ever take you beyond a soundstage, IP rating is a practical necessity, not a luxury.
6. Critical Comparison : Ecosystem and Mounting Compatibility
A bi-color panel that uses proprietary light modifiers, unique mounting plates, or non-standard power connectors locks you into one manufacturer’s ecosystem and limits your ability to scale or cross-rent gear. The professional standard is V-mount or Gold-mount battery plates for location power, industry-standard Bowens or Profoto-style modifier mounts, and widely available DMX or Bluetooth control protocols.
Check whether the panel integrates with the control systems you already use. DMX512 via XLR is the backbone of studio and broadcast lighting grids. Bluetooth apps are convenient for solo operators but introduce latency and pairing failures in multi-fixture environments. The most flexible panels offer both, plus the ability to receive firmware updates that add control protocol support over time — a feature that future-proofs your investment as wireless standards evolve.
7. Critical Comparison : The Warranty and the Company Behind It
A bi-color LED panel is a capital investment for most working creators. The warranty terms reveal more about the manufacturer’s confidence in their product than any marketing copy. A 12-month warranty with a “ship it back at your cost and we will look at it” clause suggests the company expects failures and has priced accordingly. A 24-month or 36-month warranty with prepaid return shipping and advance replacement indicates engineering that is built to survive working conditions.
Equally important: what happens when you email support with a technical question. Before buying, send a pre-sales inquiry. Ask a specific technical question — like the PWM frequency or the TLCI curve — and see how quickly you get a real answer from someone who understands the engineering. A reply that takes five business days and reads like a copy-pasted spec sheet tells you everything you need to know about support quality when a panel goes down mid-project.
At GTR, we stand behind our bi-color panels with a warranty that reflects their professional engineering, and our support team includes engineers who can diagnose complex issues without escalating you through three tiers of scripted responses. Visit rhgtr.com to see our full product specifications and support documentation.
8. Bi-Color LED Panel Comparison at a Glance
| Thông số kỹ thuật | Typical Budget Panel | Typical Mid-Range Panel | GTR Professional Panel |
|---|---|---|---|
| CCT Range | 3200K–5600K (factory cal only) | 2700K–6500K | 2700K–6500K (16-point cal) |
| CRI / TLCI Minimum | CRI 96 / TLCI 80 | CRI 97 / TLCI 88 | CRI 96+ / TLCI 93+ across range |
| PWM Frequency | 500–1200Hz | 2000–10000Hz | 25,000Hz |
| Thermal Design | Thin passive / small fan | Mid-size passive or fan | Oversized passive, thermal compensated |
| Build Chassis | Plastic or thin aluminum | Aluminum, moderate thickness | Heavy-gauge aluminum, IP54 sealed |
| Serviceability | Disposable | Limited repair options | Modular LED boards, field serviceable |
| Warranty | 12 months | 12–24 months | 24+ months, replacement support |
9. Frequently Asked Buying Questions
9.1. How many bi-color LED panels do I need for a basic interview setup?
A standard three-point lighting setup uses a key light (your primary bi-color panel), a fill light (often a smaller bi-color panel or a bounce), and a backlight (can be a smaller bi-color unit). For solo interview work, two quality panels plus a reflector can deliver excellent results. If you shoot only talking-head content at a fixed distance, start with one powerful direct-lit panel as your key and build outward.
9.2. Should I choose a bi-color panel or a daylight-only panel?
If you shoot exclusively in daylight-balanced environments — outdoor sports, sunlit spaces — a daylight-only panel gives you higher output per watt because you are not splitting LED real estate between warm and cool emitters. But if you ever shoot in offices, event venues, or mixed ambient light, a bi-color panel’s ability to match existing color temperatures saves you the hassle of gelling and the output loss filtration causes. Most working videographers we supply choose bi-color for its flexibility, even at a slight output penalty.
9.3. Can I use a bi-color LED panel for photography as well as video?
Yes, but with one caveat: continuous LED panels lack the freeze-frame power of strobes for fast action. For portrait, product, and still-life photography where you can control ambient light, a bi-color panel provides a “what you see is what you get” preview that flash cannot. For sports or dance photography, stick with strobes for motion-freezing capability.
9.4. What size bi-color panel is right for my work?
A 12-inch panel works beautifully for head-and-shoulders framing at 1–1.5 meters — desktop streaming, beauty shots, single-person interviews in tight spaces. Step up to a 1×2-foot panel when you need to light two people, cover a wider scene, or place the light farther back. Larger panels also produce inherently softer light because the source size relative to your subject increases, reducing harsh shadow edges without additional diffusion.
9.5. Do I need DMX if I only use one or two lights?
For solo operators running one or two fixtures, a well-designed Bluetooth or wireless app provides sufficient control without the cabling complexity of DMX. However, if you plan to scale your lighting kit — or if you ever rent your gear to productions that use lighting consoles — DMX connectivity adds long-term flexibility at minimal incremental cost. We recommend choosing a panel that includes both DMX and wireless control so you are not upgrade-locked later.
10. Make Your Next Panel Purchase Your Last for Years
The bi-color LED panel market rewards careful comparison and punishes assumption. Two panels with identical CRI claims and similar CCT ranges on a product page can perform completely differently on a working set. The difference lies in the details manufacturers hope you will not ask about: PWM frequency, thermal stability, CCT uniformity, and build quality that survives a few years of transport and setup.
We engineer GTR bi-color panels to excel in exactly these invisible specifications because our customers — broadcast engineers, rental house managers, and working DPs — evaluate lights with light meters, waveform monitors, and multi-year total-cost-of-ownership calculations, not just Amazon star ratings. If that approach resonates with how you think about your gear investments, we invite you to explore our full range at rhgtr.com and reach out to our support team with the hardest technical questions you can think of. We answer them every day.
Compare GTR Bi-Color LED Panel Specifications and Find Your Production-Grade Match →