
Non tutte le lampadine LED H4 sono uguali. Una lampadina $20 di un marchio sconosciuto e una $100 di un produttore affermato possono sembrare identiche nella confezione, ma sulla strada la differenza è abissale.
After analyzing data from over 50,000 real customer installations and consulting automotive lighting engineers, we identified exactly what sets a quality H4 LED bulb apart from a cheap imitation. This guide walks you through every critical specification, exposes marketing tricks, and gives you the framework to make an informed purchase decision.
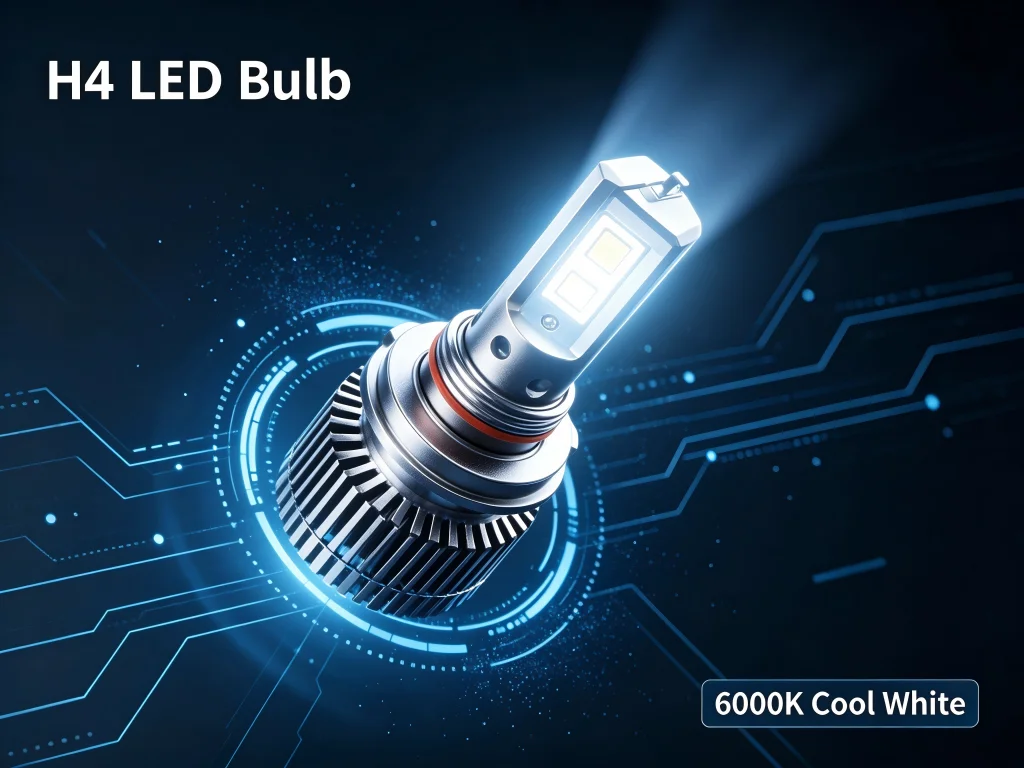
1. Understanding the H4 platform: why it's different from other bulb sizes
An H4 bulb is a dual-beam unit. It contains both low beam and high beam functions in a single bulb. This is fundamentally different from H7 (low beam only), H11 (low beam only), or 9005 (high beam only) bulbs.\r\n\r\nThe dual-beam design creates unique engineering challenges. The LED chips must replicate two filament positions—one for low beam and one for high beam—in a compact housing. The reflector or projector optics of the housing must work for both beams. If the chip position is wrong, you lose the beam pattern for both low beam and high beam.
This is why H4 LED bulbs are more difficult to design than single-beam bulbs. And that is why most cheap H4 LED bulbs perform poorly.
2. Critical Factor #1: LED chip position and beam pattern replication
The optics of your headlight housing—whether reflector or projector—were designed around the precise position of a halogen filament. The filament is a narrow, linear light source. The optics shape that light into a specific beam pattern.\r\n\r\nLED chips are flat and directional. If they are not located exactly where the filament was, the beam pattern breaks. Light scatters. Glare increases. Usable light on the road decreases.
What to look for: Premium H4 LED bulbs use a 1:1 filament replication design. The LED chips are positioned precisely where the halogen filament was, in both low beam and high beam positions. Some manufacturers advertise “1:1 halogen size” but miss the critical chip position. Ask yourself: does this bulb replicate the filament position, or just the overall size?\r\n\r\nOne forum member summarized the challenge perfectly: “Modern quality LED systems for H4 replacement use emitters very close in size, shape, and position to the original filaments.”.
3. Critical Factor #2: LED chip quality and type
The LED chip is the heart of the bulb. Not all chips are created equal.
Philips ZES (Luxeon Z ES): The gold standard for beam precision. Each chip measures 1.6 mm x 2.0 mm—closely approaching the width of the halogen filament. Low defect rate. Excellent color consistency at 6000K. Moderate brightness per watt, but the beam pattern is extremely sharp.
CSP (Chip Scale Package): Higher brightness per watt compared to ZES. More compact. Cheaper to produce. Next-generation CSP chips have significantly reduced the beam quality gap.
What to look for: Established brands reveal their chip supplier. Philips, Osram, and Seoul Semiconductor's premium CSP chips indicate quality. Generic “automotive-grade” chips without brand indication are a red flag.
4. Critical factor #3: Thermal management and cooling system
LEDs generate significant heat. If that heat is not dissipated, the chips degrade. Brightness decreases. Colors shift. Eventually, the bulb fails.
The cooling system is the most common failure point in H4 LED bulbs. Cheap bulbs use undersized heat sinks or low-quality, noisy fans that fail within a few months.
There are two cooling approaches:
| Cooling type | Advantages | Disadvantages | Ideale per |
|---|---|---|---|
| Active cooling (fan) | Handles higher power; most compact design possible | Moving parts can fail; fan noise; risk of dust ingress | High-lumen bulbs; vehicles with limited space |
| Passive cooling (fanless) | No moving parts; silent operation; increased reliability | Requires a larger heat sink; limited power handling | Everyday use; motorcyclists who appreciate silence and reliability |
What to look for: Copper heat sinks (not aluminum—copper dissipates heat 60% better). High-quality fans from reliable manufacturers. Thermal management tested in real conditions, not just in the lab.
A forum member noted: “Massive copper heat sinks, silent high-speed fans (nobody wants a buzzing headlight), or advanced passive cooling designs” are what to look for.
5. Critical Factor #4: CANBUS Compatibility and Electrical System Integration
Modern vehicles use computer systems to monitor bulb operation. When replacing a 55W halogen with a 20W LED, the computer detects the lower power draw and assumes the bulb is burned out. This triggers dashboard warnings, flickering, or complete power cutoff.
There are three ways to address this issue:
- Integrated CANBUS decoder. The bulb has an integrated circuit that simulates the halogen's resistance. Cleanest solution. No external components.
- External CANBUS adapter. A separate module that connects between the vehicle wiring and the bulb. Adds complexity but works.
- Resistor packs. Crude solution that adds resistance generating heat. Inefficient and can cause fire hazards. To be avoided.
What to look for: Bulbs with built-in CANBUS compatibility. If the manufacturer mentions “error-free” or “flicker-free” and specifies CANBUS compatibility, that's a good sign. If there's no mention of CANBUS, assume you'll need an external adapter.
6. Fattore critico #5: Progettazione dell'installazione e regolabilità
Le lampadine LED H4 utilizzano tipicamente un design in due pezzi: un collare di montaggio e un corpo lampadina. Il collare si installa per primo, fissato dalla clip a molla di fabbrica. Poi la lampadina scorre nel collare e ruota per bloccarsi.
Alcune lampadine, come la Morimoto 2Stroke, hanno un design abbastanza compatto da installarsi come un unico pezzo. Altre richiedono il processo in due pezzi.
What to look for: Montaggio regolabile che consente di ruotare la lampadina dopo l’installazione per ottimizzare l’orientamento del chip. Non tutti gli alloggiamenti sono identici. La capacità di regolare l’allineamento del chip (sinistra/destra, ore 3 e 9) è fondamentale per un corretto fascio luminoso.
Il collare di montaggio dovrebbe avere tre linguette che corrispondono all’orientamento della lampadina alogena originale. Se il collare non si adatta, avrete difficoltà con l’installazione e probabilmente sbaglierete l’orientamento.
7. Fattore critico #6: Luminosità reale vs. lumen dichiarati
Le valutazioni in lumen nel mercato delle lampadine LED sono quasi del tutto inaffidabili. I produttori pubblicizzano i lumen grezzi dell’emettitore, ciò che il chip produce in condizioni ideali di laboratorio, non ciò che arriva sulla strada.
Una lampadina pubblicizzata a 50.000 lumen può fornire solo 2.000-4.000 lumen utilizzabili dopo le perdite ottiche. L’alloggiamento, le condizioni del riflettore, la chiarezza della lente e il fascio luminoso della lampadina influenzano tutti la quantità di luce che effettivamente raggiunge la strada.
What to look for: Ignorate il numero di lumen. Cercate foto e video del fascio luminoso nel mondo reale. Cercate recensioni di utenti con lo stesso veicolo del vostro. Cercate produttori che divulgano sia i lumen grezzi che quelli effettivi: un segno di onestà.
Un membro esperto del forum ha spiegato: “Le valutazioni in lumen per i LED sono quasi sempre un numero grezzo associato a ciò che l’emettitore può fare… questi numeri non si traducono comunque in numeri di luce utilizzabile perché non tutta la luce emessa da un emettitore va dove può essere realmente utilizzata”.
8. Fattore critico #7: temperatura del colore e visibilità
Le lampadine LED H4 sono generalmente disponibili in 6000K (bianco freddo) o 6500K (bianco xeno). Questa è la temperatura del colore, non la luminosità.
6000K–6500K: Bianco nitido con una leggera sfumatura blu. Il più vicino alla luce diurna. Buono per la visibilità e l’estetica dei veicoli moderni. Può apparire intenso in caso di pioggia o nebbia.
4300K–5000K: Bianco più caldo. Più vicino al colore alogeno. Migliore penetrazione in caso di pioggia e nebbia. Minore abbagliamento per i conducenti in arrivo.
What to look for: Se guidi spesso sotto pioggia o nebbia, considera temperature del colore più calde. Se dai priorità alla massima visibilità in condizioni di cielo sereno, 6000K funziona bene. Una temperatura del colore costante su entrambe le lampadine è un segno di qualità: le lampadine economiche spesso presentano differenze di colore visibili tra sinistra e destra.
9. Comparison of premium H4 LED bulb options
| Caratteristica | Economy brand ($20–40) | Mid-range ($50–80) | Premium ($80–150) |
|---|---|---|---|
| Chip type | Generic, not declared | Branded CSP | Philips ZES or premium CSP |
| Filament replica | Approximate or none | Declared 1:1 design | Verified 1:1 positioning |
| Raffreddamento | Small aluminum heatsink; noisy fan | Copper heatsink; medium quality fan | Large copper heatsink; high-quality silent fan or advanced fanless |
| CANBUS | None or external resistor | Built-in decoder (uncertain) | Built-in decoder (verified on multiple vehicles) |
| Adjustable orientation | Fixed | Limited adjustment | Full 360-degree adjustment |
| Beam pattern | Scattered, unpredictable | Decent in some housings | Consistent on reflector and projector |
| Garanzia | 30–90 days | 1 year | 2–5 years |
| Typical lifespan | 6–12 months | 2–3 years | 5+ years |
10. H4 LED Installation: The Right Way vs. The Wrong Way
Even the most expensive H4 LED bulb performs poorly if installed incorrectly. Here is what a correct installation should look like:
- Remove the mounting collar from the bulb body before installation. Attempting to install the bulb as a single piece often prevents the spring clip from locking.
- Insert and secure the collar into the headlight housing using the factory spring clip.
- Slide the bulb into the mounted collar and rotate to lock.
- Orient the LED chips horizontally—left and right (3 and 9 o'clock positions), not up and down.
- Check the beam against a wall before reinstalling the dust covers. The cut-off line should be sharp and horizontal. If light scatters upward, the orientation is wrong.
- Test both low beam and high beam before completing the installation.
The most common mistake: Installing the bulb with the chips facing up and down. This destroys the beam pattern, increases glare, and reduces useful light on the road.
11. GTR H4 LED Bulbs: Designed for Performance, Built to Last
At GTR, we don't compete on price. We compete on engineering integrity. Every GTR H4 LED bulb is designed by automotive lighting engineers who understand beam physics, thermal management, and electrical system integration.
Our H4 LED bulbs include:
- Precise 1:1 filament replication. Our engineering team measured the exact filament position in dozens of H4 housings. Our chips sit exactly where they should.
- Premium quality LED chips. We use top-tier Philips and CSP chips with strict binning for consistent color temperature on every bulb.
- Advanced thermal management. Large copper heat sinks paired with silent, high-reliability cooling fans. No humming. No premature failure.
- Built-in CANBUS compatibility. No external resistors. No dashboard warnings. No flickering. Plug and play in 99% of vehicles.
- Adjustable 360-degree orientation. Fine-tune chip alignment for perfect beam focus in your specific vehicle.
- IP68 protection rating. Designed for real-world conditions: rain, snow, mud, and pressure washing.
Our recommendations are based on real customer feedback from tens of thousands of orders, not affiliate commissions. We have been selling and supporting LED conversion kits for over a decade. We know what works and what doesn't.
12. Frequently Asked Questions about H4 LED Bulbs
12.1. Which vehicles use H4 bulbs?
The H4 is used in countless vehicles, including Toyota, Mazda, Subaru, Honda, Nissan, and most motorcycles with dual-beam headlights. Check your owner's manual or remove the existing bulb to confirm the H4/9003/HB2 designation.
12.2. Can I install H4 LED bulbs myself?
Yes. Most H4 LED bulbs are plug-and-play and install in 15-30 minutes with basic hand tools. The key is proper orientation of the LED chips and correct installation of the mounting collar.
12.3. Do H4 LED bulbs cause glare for oncoming drivers?
Properly designed bulbs with correct chip placement and orientation do not cause excessive glare. Poorly designed bulbs or incorrect installation do. The difference lies in the bulb, not the technology.
12.4. Are H4 LED bulbs worth upgrading from halogen?
Yes, when choosing a quality bulb. A premium H4 LED offers 2-4 times more usable light, lasts 10 times longer, and consumes significantly less power than halogen. The upgrade is transformative for nighttime driving safety.
12.5. How do I know if my vehicle needs CANBUS-compatible bulbs?
Most vehicles manufactured after 2010 have bulb monitoring systems. If you're unsure, choose bulbs with built-in CANBUS compatibility: it works in both newer and older vehicles.
12.6. What is the difference between H4, 9003, and HB2?
These are different names for the same bulb base and connector. H4 is the European designation, 9003 is the US designation, and HB2 is another US standard. They are interchangeable.
12.7. How long does it take to install an H4 LED bulb?
15-30 minuti per lato per la maggior parte dei veicoli. Alcuni veicoli con accesso limitato potrebbero richiedere più tempo. Il design del collare rimovibile semplifica notevolmente l’installazione.
13. Fai la scelta giusta per la tua sicurezza di guida notturna
Stai leggendo questa guida perché vuoi prendere una decisione informata. Non vuoi sprecare soldi in una lampadina che si guasta in sei mesi. Non vuoi abbagliare il traffico in senso opposto. Non vuoi lottare con un fascio luminoso che rende la guida notturna più pericolosa, non meno.\r\n\r\nVuoi vedere chiaramente. Vuoi essere visto. Vuoi una lampadina che funzioni con l’ingegneria del tuo veicolo, non contro di essa.\r\n\r\nLe lampadine LED H4 GTR offrono esattamente questo. Ingegneria di precisione. Componenti premium. Test nel mondo reale. E un fascio luminoso che mette la luce utilizzabile dove serve: sulla strada davanti a te.
Visita https://www.rhgtr.com per esplorare la nostra gamma di lampadine LED H4. Confronta le specifiche. Leggi le recensioni. Poi fai la scelta che mette la sicurezza al primo posto..