
Not all H4 LED bulbs are created equal. A $20 bulb from an unknown brand and a $100 bulb from an established manufacturer can look identical in the box—but on the road, the difference is night and day.
After analyzing data from over 50,000 real customer installations and consulting with automotive lighting engineers, we have identified exactly what separates a quality H4 LED bulb from a cheap imitation. This guide walks you through every critical specification, exposes the marketing tricks, and gives you the framework to make an informed purchase decision.
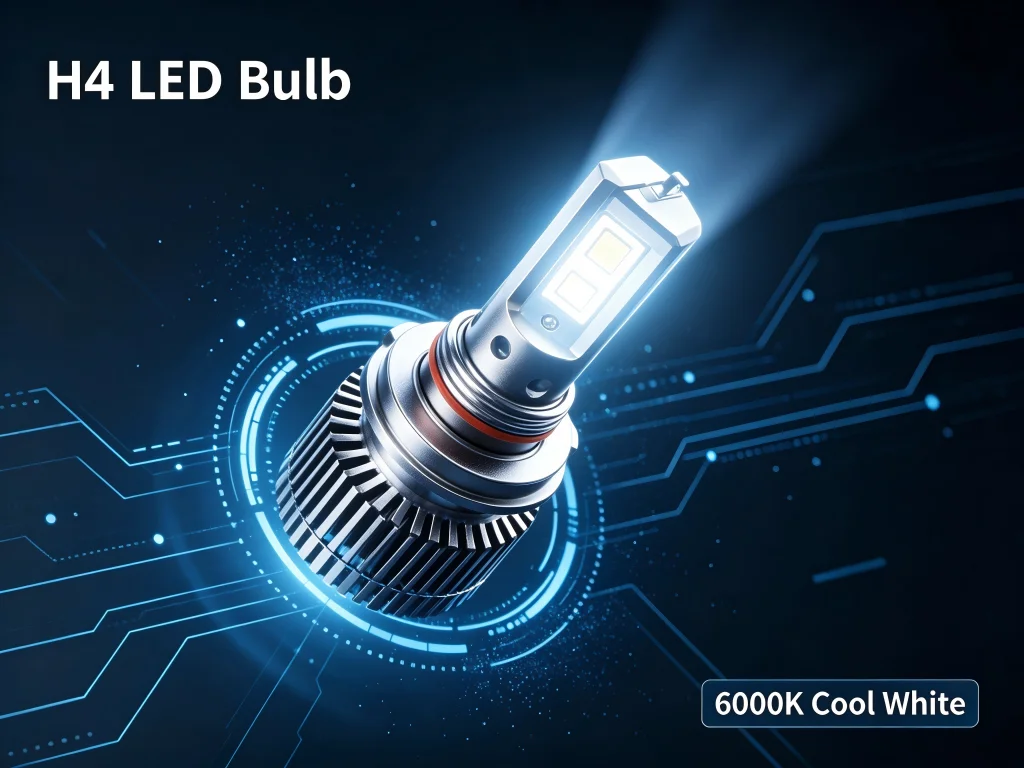
1. Understanding the H4 Platform: Why It's Different From Other Bulb Sizes
An H4 bulb is a dual-beam unit. It contains both low beam and high beam functions in a single bulb. This is fundamentally different from H7 (single low beam), H11 (single low beam), or 9005 (single high beam) bulbs.
The dual-beam design creates unique engineering challenges. The LED chips must replicate two filament positions—one for low beam and one for high beam—within a compact envelope. The housing’s reflector or projector optics must work for both beams. Get the chip placement wrong, and you lose beam pattern on both low and high beams.
This is why H4 LED bulbs are harder to engineer than single-beam bulbs. And this is why most cheap H4 LED bulbs perform poorly.
2. Critical Factor #1: LED Chip Position and Beam Pattern Replication
Your headlight housing’s optics—whether reflector or projector—were designed around the precise position of a halogen filament. The filament is a narrow, linear light source. The optics shape that light into a specific beam pattern.
LED chips are flat and directional. If they don’t sit exactly where the filament sat, the beam pattern breaks. Light scatters. Glare increases. Usable light on the road decreases.
Qué buscar: Premium H4 LED bulbs use a 1:1 filament replication design. The LED chips are positioned precisely where the halogen filament was, in both low beam and high beam positions. Some manufacturers advertise “1:1 halogen size” but miss the critical chip positioning. Ask: does this bulb replicate the filament position, or just the overall size?
One forum member summarized the challenge perfectly: “The modern, quality H4 replacement LED systems use emitters that are very close in size, shape and position to the original filaments”.
3. Critical Factor #2: LED Chip Quality and Type
The LED chip is the heart of the bulb. Not all chips are equal.
Philips ZES (Luxeon Z ES): The gold standard for beam accuracy. Each chip measures 1.6mm x 2.0mm—closely matching the halogen filament width. Low defect rate. Excellent color consistency at 6000K. Moderate brightness per watt, but the beam pattern is razor-sharp.
CSP (Chip Scale Package): Higher brightness per watt than ZES. More compact. Cheaper to manufacture. Newer-generation CSP chips have closed the beam quality gap significantly.
Qué buscar: Established brands disclose their chip supplier. Philips, Osram, and premium CSP chips from Seoul Semiconductor indicate quality. Generic “automotive-grade” chips with no brand disclosure are a red flag.
4. Critical Factor #3: Thermal Management and Cooling System
LEDs generate significant heat. If that heat isn’t dissipated, the chips degrade. Brightness drops. Color shifts. Eventually, the bulb fails.
The cooling system is the single most common failure point in H4 LED bulbs. Cheap bulbs use undersized heat sinks or noisy, low-quality fans that fail within months.
There are two cooling approaches:
| Tipo de enfriamiento | Advantages | Disadvantages | Mejor para |
|---|---|---|---|
| Active Cooling (Fan) | Handles higher power outputs; more compact design possible | Moving parts can fail; fan noise; dust ingress risk | High-lumen bulbs; vehicles with limited space |
| Passive Cooling (Fanless) | No moving parts; silent operation; higher reliability | Requires larger heat sink; limited power handling | Daily drivers; riders who value silence and reliability |
Qué buscar: Copper heat sinks (not aluminum—copper dissipates heat 60% better). High-quality fans from reputable manufacturers. Thermal management that’s been tested in real-world conditions, not just in a lab.
One forum member noted: “Massive copper heat sinks, high-speed silent fans (nobody wants a buzzing headlight), or advanced passive cooling designs” are what to look for.
5. Critical Factor #4: CANBUS Compatibility and Electrical System Integration
Modern vehicles use computer systems to monitor bulb function. When you replace a 55W halogen with a 20W LED, the computer detects the lower power draw and assumes the bulb is burned out. This triggers dashboard warnings, flickering, or complete power shutdown.
There are three ways to address this:
- Built-in CANBUS decoder. The bulb has integrated circuitry that mimics halogen resistance. Cleanest solution. No external components.
- External CANBUS adapter. A separate module that plugs between the vehicle harness and the bulb. Adds complexity but works.
- Resistor packs. Crude solution that adds resistance by generating heat. Inefficient and can cause fire hazards. Avoid.
Qué buscar: Bulbs with built-in CANBUS compatibility. If the manufacturer mentions “error-free” or “no flickering” and specifies CANBUS compatibility, it’s a good sign. If there’s no mention of CANBUS, assume you’ll need an external adapter.
6. Critical Factor #5: Installation Design and Adjustability
H4 LED bulbs typically use a two-piece design: a mounting collar and a bulb body. The collar installs first, secured by the factory spring clip. Then the bulb slides into the collar and twists to lock.
Some bulbs—like the Morimoto 2Stroke—have a compact enough design to install as a single piece. Others require the two-piece process.
Qué buscar: Adjustable mounting that lets you rotate the bulb after installation to fine-tune chip orientation. Not all housings are identical. The ability to adjust chip alignment (left/right, 3 and 9 o’clock) is critical for proper beam pattern.
The mounting collar should feature three tabs that match your original halogen bulb’s orientation. If the collar doesn’t fit, you’ll struggle with installation and likely get the orientation wrong.
7. Critical Factor #6: Real-World Brightness vs. Advertised Lumens
Lumen ratings in the LED bulb market are almost entirely unreliable. Manufacturers advertise raw emitter lumens—what the chip produces in ideal lab conditions—not what reaches the road.
A bulb advertised at 50,000 lumens may deliver only 2,000–4,000 usable lumens after optical losses. The housing, the reflector condition, the lens clarity, and the bulb’s beam pattern all affect how much light actually reaches the road.
Qué buscar: Ignore the lumen number. Look for real-world beam pattern photos and videos. Look for reviews from users with the same vehicle as yours. Look for manufacturers who disclose both raw and effective lumens—an honest sign.
One experienced forum member explained: “Lumen ratings for LED are most always a raw number associated with what the emitter can do… these numbers don’t translate into usable light output numbers anyway because not all the light given out by an emitter goes where it can really be used”.
8. Critical Factor #7: Color Temperature and Visibility
H4 LED bulbs typically come in 6000K (cool white) or 6500K (xenon white). This is the color temperature—not brightness.
6000K–6500K: Crisp white with a slight blue tint. Closest to daylight. Good for visibility and modern vehicle aesthetics. Can appear harsh in rain or fog.
4300K–5000K: Warmer white. Closer to halogen color. Better penetration in rain and fog. Less glare for oncoming drivers.
Qué buscar: If you drive in frequent rain or fog, consider warmer color temperatures. If you prioritize maximum visibility in clear conditions, 6000K works well. Consistent color temperature across both bulbs is a mark of quality—cheap bulbs often have visible color differences between left and right.
9. Comparing Premium H4 LED Bulb Options
| Característica | Budget Brand ($20–40) | Mid-Range ($50–80) | Premium ($80–150) |
|---|---|---|---|
| Chip type | Generic, undisclosed | Name-brand CSP | Philips ZES or premium CSP |
| Filament Replication | Approximate or none | 1:1 design claimed | Verified 1:1 positioning |
| Cooling | Small aluminum heat sink; noisy fan | Copper heat sink; mid-quality fan | Large copper heat sink; high-quality silent fan or advanced fanless |
| CANBUS | None or external resistor | Built-in decoder (hit-or-miss) | Built-in decoder (verified across vehicles) |
| Adjustable Orientation | Fixed | Limited adjustment | Full 360-degree adjustment |
| Patrón del haz | Scattered, unpredictable | Decent in some housings | Consistent across reflector and projector |
| Warranty | 30–90 days | 1 year | 2–5 years |
| Vida útil típica | 6–12 months | 2–3 years | 5+ years |
10. H4 LED Installation: The Right Way vs. The Wrong Way
Even the most expensive H4 LED bulb underperforms if installed incorrectly. Here’s what proper installation looks like:
- Remove the mounting collar from the bulb body before installation. Attempting to install the bulb as one complete piece often prevents the spring clip from locking.
- Insert and secure the collar in the headlight housing using the factory spring clip.
- Slide the bulb into the mounted collar and twist to lock.
- Orient the LED chips horizontally—left and right (3 o’clock and 9 o’clock), not up and down.
- Check beam pattern against a wall before reinstalling dust covers. The cutoff should be sharp and horizontal. If light scatters upward, the orientation is wrong.
- Test both low and high beams before finalizing the installation.
The most common mistake: Installing the bulb with the chips facing up and down. This destroys the beam pattern, increases glare, and reduces usable light on the road.
11. GTR H4 LED Bulbs: Engineered for Performance, Built to Last
At GTR, we don’t compete on price. We compete on engineering integrity. Every GTR H4 LED bulb is designed by automotive lighting engineers who understand the physics of beam pattern, thermal management, and electrical system integration.
Our H4 LED bulbs feature:
- Precision 1:1 filament replication. Our engineering team has measured the exact filament position in dozens of H4 housings. Our chips sit exactly where they should.
- Premium-grade LED chips. We use Philips and top-tier CSP chips with tight binning for consistent color temperature across every bulb.
- Advanced thermal management. Large copper heat sinks paired with silent, high-reliability cooling fans. No buzzing. No premature failure.
- Integrated CANBUS compatibility. No external resistors. No dashboard warnings. No flickering. Plug and play in 99% of vehicles.
- 360-degree adjustable orientation. Fine-tune chip alignment for perfect beam focus in your specific vehicle.
- IP68 waterproof rating. Built for real-world conditions—rain, snow, mud, and pressure washing.
Our recommendations are based on real customer feedback from tens of thousands of orders, not affiliate commissions. We have been selling and supporting LED conversion kits for over a decade. We know what works—and what doesn’t.
12. Frequently Asked Questions About H4 LED Bulbs
12.1. ¿Qué vehículos utilizan bombillas H4?
H4 is used across countless vehicles including Toyota, Mazda, Subaru, Honda, Nissan, and most motorcycles with dual-beam headlights. Check your owner’s manual or remove your existing bulb to confirm the H4/9003/HB2 designation.
12.2. Can I install H4 LED bulbs myself?
Yes. Most H4 LED bulbs are plug-and-play and install in 15–30 minutes with basic hand tools. The key is proper orientation of the LED chips and correct mounting collar installation.
12.3. Do H4 LED bulbs cause glare for oncoming drivers?
Properly engineered bulbs with correct chip positioning and orientation do not cause excessive glare. Poorly engineered bulbs or incorrect installation do. The difference is the bulb, not the technology.
12.4. Are H4 LED bulbs worth the upgrade from halogen?
Yes—when you choose a quality bulb. A premium H4 LED delivers 2–4 times more usable light, lasts 10 times longer, and draws significantly less power than halogen. The upgrade is transformational for night driving safety.
12.5. How do I know if my vehicle needs CANBUS-compatible bulbs?
Most vehicles manufactured after 2010 have bulb monitoring systems. If you’re unsure, choose bulbs with built-in CANBUS compatibility—it works in both newer and older vehicles.
12.6. ¿Cuál es la diferencia entre H4, 9003 y HB2?
These are different names for the same bulb base and connector. H4 is the European designation, 9003 is the US designation, and HB2 is another US standard. They are interchangeable.
12.7. How long does an H4 LED bulb installation take?
15–30 minutes per side for most vehicles. Some vehicles with tight access may take longer. The removable collar design simplifies installation significantly.
13. Make the Right Choice for Your Night Driving Safety
You are reading this guide because you want to make an informed decision. You don’t want to waste money on a bulb that fails in six months. You don’t want to blind oncoming traffic. You don’t want to struggle with a beam pattern that makes night driving more dangerous, not less.
You want to see clearly. You want to be seen. You want a bulb that works with your vehicle’s engineering, not against it.
GTR H4 LED bulbs deliver exactly that. Precision engineering. Premium components. Real-world testing. And a beam pattern that puts usable light where it belongs—on the road ahead.
Visita https://www.rhgtr.com to explore our H4 LED bulb lineup. Compare the specifications. Read the reviews. Then make the choice that puts safety first.